|
If those all are in grid (no half pixels and so on), there has to be some extreme math going on behind all this madness.
I've added a last step to improve the color blending.
In the previous screenshot, there was still some weirdness in darker areas. Now, in this new screenshot the contrast is more faithful. Now I don't see anything else to improve in this specific test case, and in all my tests through several other maps this algorithm also seems optimal... except for one thing: I've found out that it's only optimal at 50% translucency. I'll have to do some tests to figure out exactly what needs to be compensated from one blending level to another, but I'll leave that for later. Also, I want to thank MFX for his Clean Cut map, which was really helpful to test and improve the color blending. Those flat-colored gray color windows served as a good neutral ground for figuring out which properties of the colors were being distorted, and how. How in the hell you did that? I expect you ported it from another program to the editor, if not, i can't see how.
It can be done in an editor, and quite fast. Took me just 2 minutes after realizing how.
It reminds me of something that happened in 1997: my oldest brother did a 16 steps per round spiral staircase on the grid with just the carving tool that looked awesome and left me wondering for months. And in the end the trick was easy and fast to achieve. What's impressive on Mfx's screenshot in the end is the results, and the goal this achieves: something impressive with fast done brushwork and good ambience, completely the opposite of what i did in the starting areas here. Well, thanks to it i toned down a lot on difficult brushwork, and Mfx's screenshot reaffirm my conviction. I tried using rotation tool to make same kind of result, but only problem was that face's texture alignment started acting weird flipping directions and so on. Did Mfx actually calculated all those broken face's texture rotations manually after rotating brushes or am I just too inexperienced when it comes to using TB? I used 22.5 degree steps because 22.5 x 4 = 90 degrees..
What is carving tool? I think TB2 doesn't have anything like that. Or do you mean clipping tool, where you cut slices by choosing 3 vertex points? I've seen people talk about different types of texture alignment, such as world vs. arbitrary--to pull off the effect mfx has one would need to use arbitrary alignment, by my understanding (not 100% sure). Also I don't know how to actually implement that sort of alignment but it would be good to know. Calculating texture rotations manually? Doable, but have fun with that lol.
To be honest it is not fun at all calculate manually something like that* but because I haven't figured out other ways to correct these when things doesn't went as planned. Maybe J.A.C.K handles these better atm.. maybe.. but I'm not that used to J.A.C.K's interface yet.
*For me it was just:
- Created a 16 sided cylinder 192x192x128. - Moved all the points in one of the bases at the same time in the same plane as the base is to make the ''curve'', with the vertex editor tool. - Repeated the previous steps another time and joined both cylinders to get one fourth. - Cloned and rotated 90� that structure 4 times and joined the pieces to create one tube. - Cloned and rotated 45� the finished tube 7 times. And got this. I didn't even check if it was on grid, calculated a single thing or tried to make it look good thats why i only used two pieces per 90�. I was only checking if it was doable so made it simple. All looks OK in game and the compiler didn't give a single complaint so i didn't bother. Maybe you encountered problems because you made it detailed, hence the need for calculations. * About Trenchbroom i don't know much, but i suppose that for this basic operations is the same as any other editor and from what i heard it supports map format 220 so no problem there either. I don't use JACK much either, except for Quake 2, just WC from 1.1.2 to 3.3 since i began mapping, which is similar. Mainly because till a few years ago i only knew of WC 1.1 and QuarK as back on 198x-199x everyone in the city with a computer depended on what the rich guy or guy with family abroad or in a really big city got for almost every software we had. * About carving (subtracting from one brush using other), is one of the only three tools WC1.1 had: Create cubes, wedges, cylinders and spikes was one, carving the second, and hollow (to create hollow boxes) the third. It was quite limiting that's why it surprised me the spiral staircase on grid back then. But thanks to the limitations it has i had fun making some crazy things till i hit the editor's limit on what could be displayed in-editor and had to put the most of it apart. read that you had problems with brushwork instead of problems with texture alignment and realized just now.
For texture alignment in those circumstances, align them bit by bit when you have the first cylinder brush done and use texture lock for the rest. I use the map format 220 from HL which has enhancements to texture alignment, but i i am not sure if Trenchbroom supports that or just can open those files. I've not really touched it, but TB2 seems to support the 220 format, at least for creating and loading. Not sure how stable the support is though.
Speaking of which, is there any tool that can convert between standard quake and 220? I'm interested in seeing what difference it makes (if any) for my work. You would have to use the Valve 220 format for that kind of texture alignment. The basic orthogonal (align to world) projection would never look right.
https://developer.valvesoftware.com/wiki/Texture_alignment So basically I should use J.A.C.K for those kind of brushwork/rotation practices. So I highly doubt mfx was able to pull this off 100% in TB itself. Unless he took like 3 months manually calculating messed up faces or just using Valve 220 format. Not sure how does it work in TB, what are differences.. have to check it out after this noir jam.
I've had issues with texture lock in the past when rotating brushes. One thing I've tried doing in the past was making a cube and then rotating it with texture lock on so that one of the diagonals was parallel to the z axis, but after I did this the textures were completely warped.
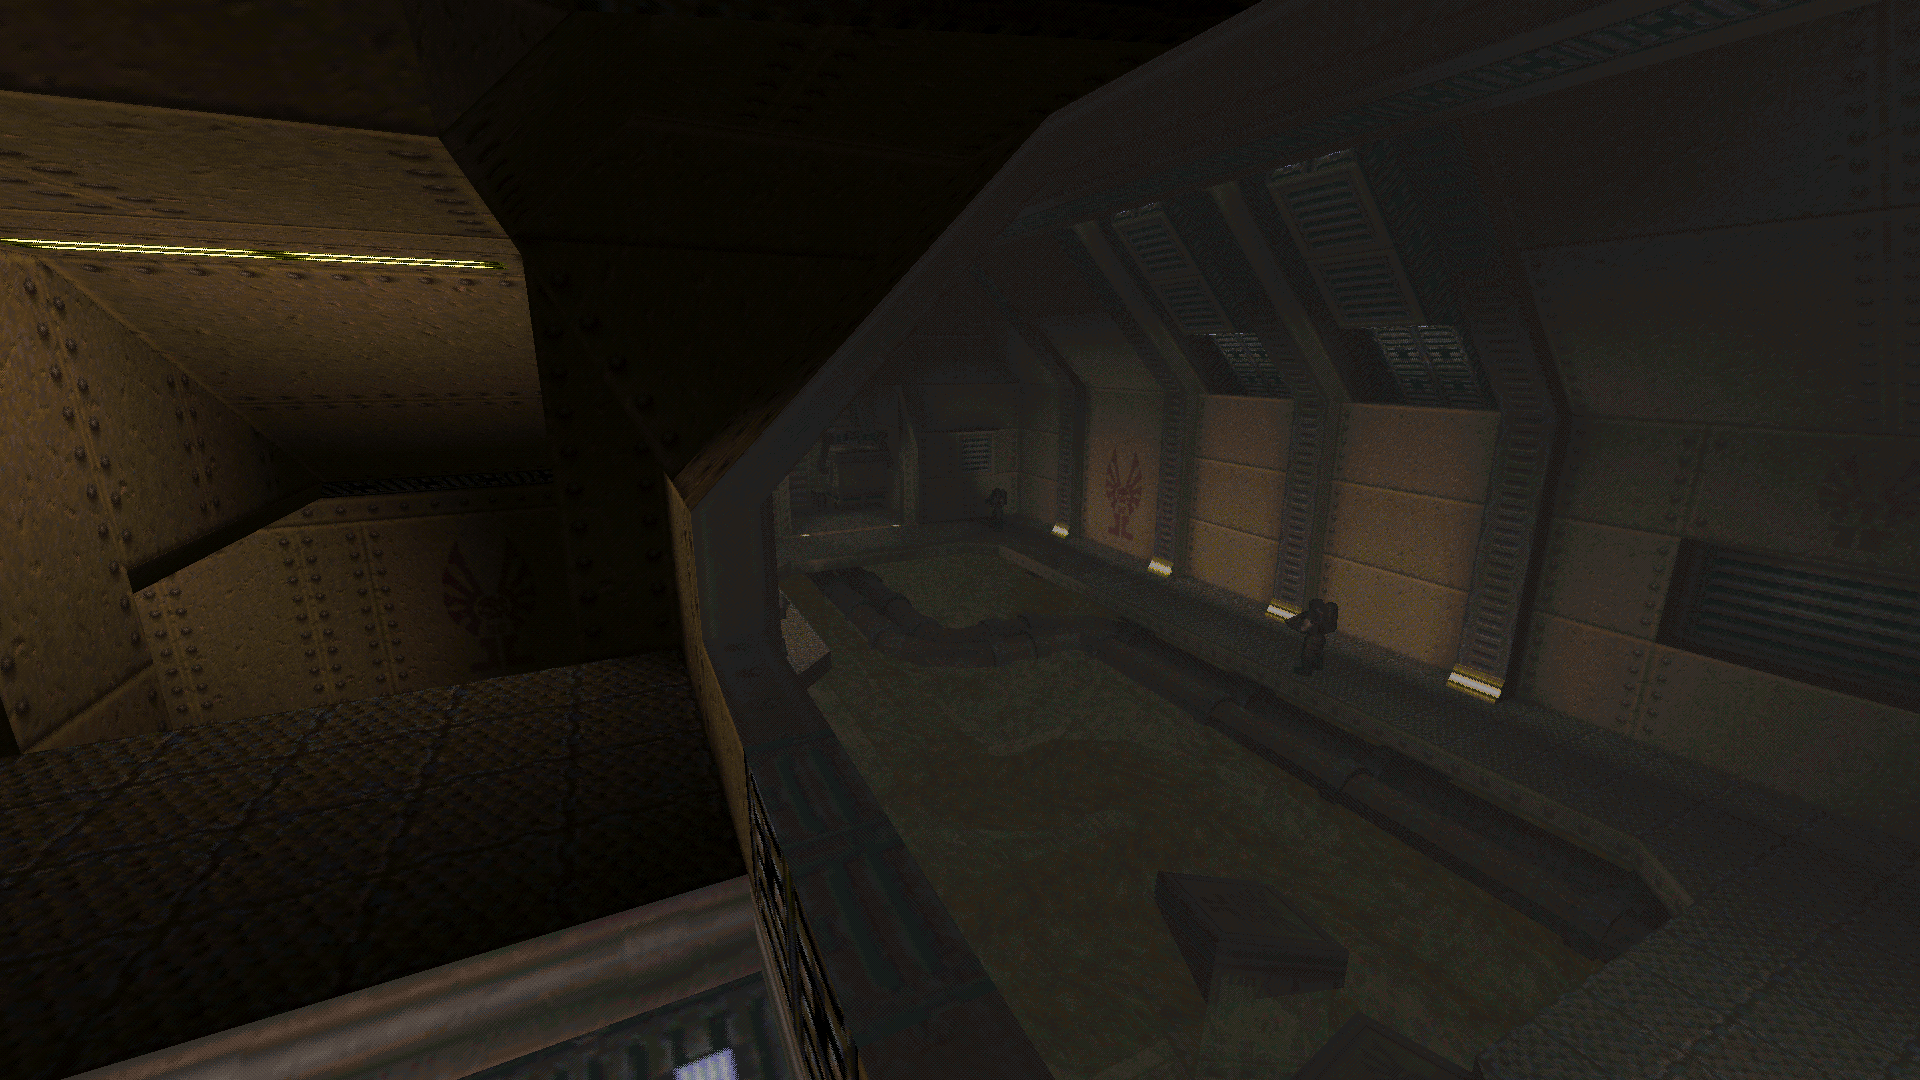
I'm a bit of confused about what I have done.. what does this remind? (possible gameplay section in my noir jam map) : https://drive.google.com/file/d/0BwxYkKdSD855LTE2dS1wSXJHUDg/view?usp=sharing
HL2, not episode 1 or 2.. that tech tower section? Also I think it reminds a bit of Duke Nukem 3D's episode 2, latest maps.
|
| You must be logged in to post in this thread. |
| Website copyright © 2002-2024 John Fitzgibbons. All posts are copyright their respective authors. |